ZERO TWO FIGHTSTICK This section explains how to assemble the ZERO TWO FIGHTSTICK.

Accessories for ZERO TWO FIGHTSTICK
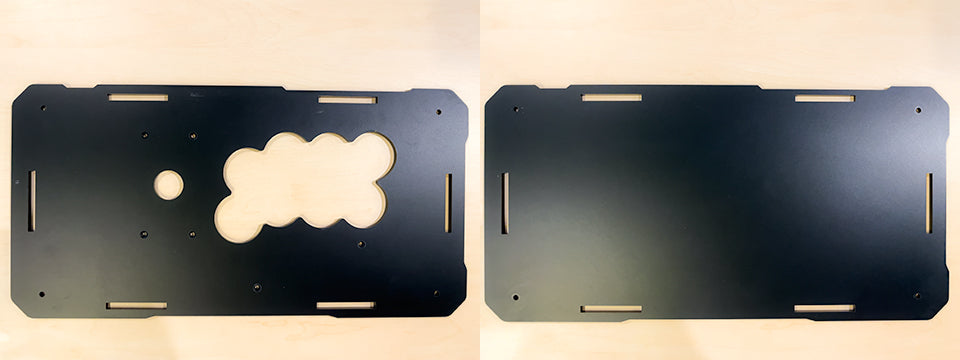
ZERO TWO FIGHTSTICK Acrylic Panel


Side panels x4 panels
2 lower panels
Various ZERO TWO FIGHTSTICK screws, etc.

- Left photo, 4 long nuts.
Length depends on the size of the side panel. - Second from the left, 4 plastic feet for mounting on the bottom of the case.
- Third from the left, M3 standard screws, 15mm long screws, spacers, and washers.
These are used to fasten the joystick lever and PCB.
Six screws, eight washers, and two PCB spacers. - The fourth from the left is an M4 standard screw, for the top panel.15mm, 20mm for the bottom, and two of each type for a total of four.
These are the parts included in the case kit.
For other parts required for assembly, please refer to
Please refer to the parts guide on each product page.
ZERO TWO FIGHTSTICK Assembly of the main unit

M3 standard countersunk screws, other washers, PCB spacers, Brook FightingBoard, and
Prepare joystick lever and 5mm thick upper panel.

Remove the lever ball, shaft cover, and dust washer from the joystick lever.

Set four countersunk screws in the screw holes for the joystick lever.

Temporarily fix the screws with masking tape or similar to prevent them from falling out.

Turn the joystick over and set the washers.

Set the joystick lever, insert the flat iron plate between the washers, and fix it with a nut.
*In both Sanwa and Seimitsu , install the lever so that its terminal is on the outside (opposite direction to the button).

When fixed, the surface will look like this.

Set countersunk screws in the mounting holes for the PCB board.
Temporarily fix the screws with masking tape, etc. to prevent them from falling out, as when installing the levers.

Back side as when setting joystick lever.
Insert the PCB spacer into the screw.

Set the Brook Fighting Board and secure it with the nut.

When the joystick lever and the Brook Fighting Board are fixed, it looks like this.

3mm thick top panel and M4 countersunk screws (the thicker ones)
Prepare the short end of the 15 mm length.

Overlap the 3 mm thick top panel on the 5 mm thick panel to which you have just attached the lever.
Once stacked, install the shorter 15mm countersunk screws in four places.
If installing artwork, place it between the panels at this point before attaching the screws.

Prepare the long nut that comes with the product.
The size used in this sample is the most versatile 45mm size.
(The length will vary depending on the side panel selected.)

Turn over and install four long nuts on the screws that were just installed.

Return to the surface and set the normal size button (30mm).
This one is 3mm thick, so there is no problem with the insertion type.
Wiring
For wiring, please refer to this article "How to Wire the "Akecon Original Harness" for installation.
If you are using Brook Fighting Cable, please refer here.

Prepare a 25cm USB 2.0 A to B cable and a USB C to A mounting jack for USB-related wiring.
In addition, we will install optional buttons on the side panel.
Prepare six 24mm buttons.

Attach the USB C to A mounting jack and six 24mm buttons.
Since the panel is 5mm thick, screw type is recommended.
Please note that the buttons will not fit securely if they are screwed in.

Fit the side panel and connect the USB C to A mounting jack to the Brook Fighting Board with a 25cm USB 2.0 A to B cable.
Once here, check that there are no problems with operation or wiring.
If there are no problems, attach the bottom board 5mm on the back side.

Prepare 20mm countersunk screws and plastic feet for the case.

After fitting the 5 mm thick panel, overlap the 3 mm panel and screw the plastic feet in four places.
When attaching artwork, sandwich it between clear panels before attaching the plastic feet.

Put it back on the table and you're done, enjoy your ZERO TWO FIGHTSTICK!
Supplemental

Styrofoam bricks are very useful as a base when assembling.
We recommend this because it provides a hole to compensate for the joystick lever and a suitable height.
In Japan, they can be purchased at 100-yen uniform stores such as DAISO and home centers.


![ZERO ONE STICKLESS [All-Button]](http://us.akecon.games/cdn/shop/articles/Z1-AB-VM.png?v=1625924847&width=1)
